
Blend Tool Pro vs Adobe Illustrator — A Comparison Guide
Blend Tool Pro is a script for Affinity V3.2 by S1m0np1. Adobe Illustrator has its own built-in Blend Tool. Both create intermediate steps between two shapes, but the feature sets diverge significantly. This guide covers every area where v16.6.3 offers something Illustrator does not.
1. Twist
Illustrator: No twist option. If you want shapes to rotate across a blend, you have to manually rotate each intermediate step after expanding the blend — a tedious process that is also destructive.
Blend Tool Pro: A dedicated Twist (°) control rotates each step progressively from Shape A to Shape B. The full rotation range is −3600° to +3600°, allowing multiple full spins. A Reverse Twist checkbox flips the rotation direction without reconfiguring anything else.
2. Easing
Illustrator: Step distribution is always linear — Specified Steps places shapes at equal intervals, and Specified Distance uses a fixed gap. There is no way to weight steps toward one end of the blend.
Blend Tool Pro: A dedicated Spacing section offers four easing modes:
| Mode | Effect |
|---|---|
| Linear | Equal spacing (matches Illustrator behaviour) |
| Ease In | Steps cluster near Shape A, spread toward Shape B |
| Ease Out | Steps spread from Shape A, cluster near Shape B |
| Ease In+Out | Steps cluster at both ends, spread in the middle |
An Easing Factor slider (0.1–10) controls how aggressively the easing is applied. This makes it possible to create organic, naturally-spaced sequences that would require manual repositioning of every step in Illustrator.
3. Per-Endpoint Scale
Illustrator: Scaling either shape before blending changes that shape permanently. There is no way to define a scale for each endpoint as part of the blend itself.
Blend Tool Pro: Both Shape A and Shape B have a Scale Shape (%) control. Setting them to different values causes the blend to smoothly grow or shrink across its steps — independently of the actual document size of either shape. The original shapes remain untouched.
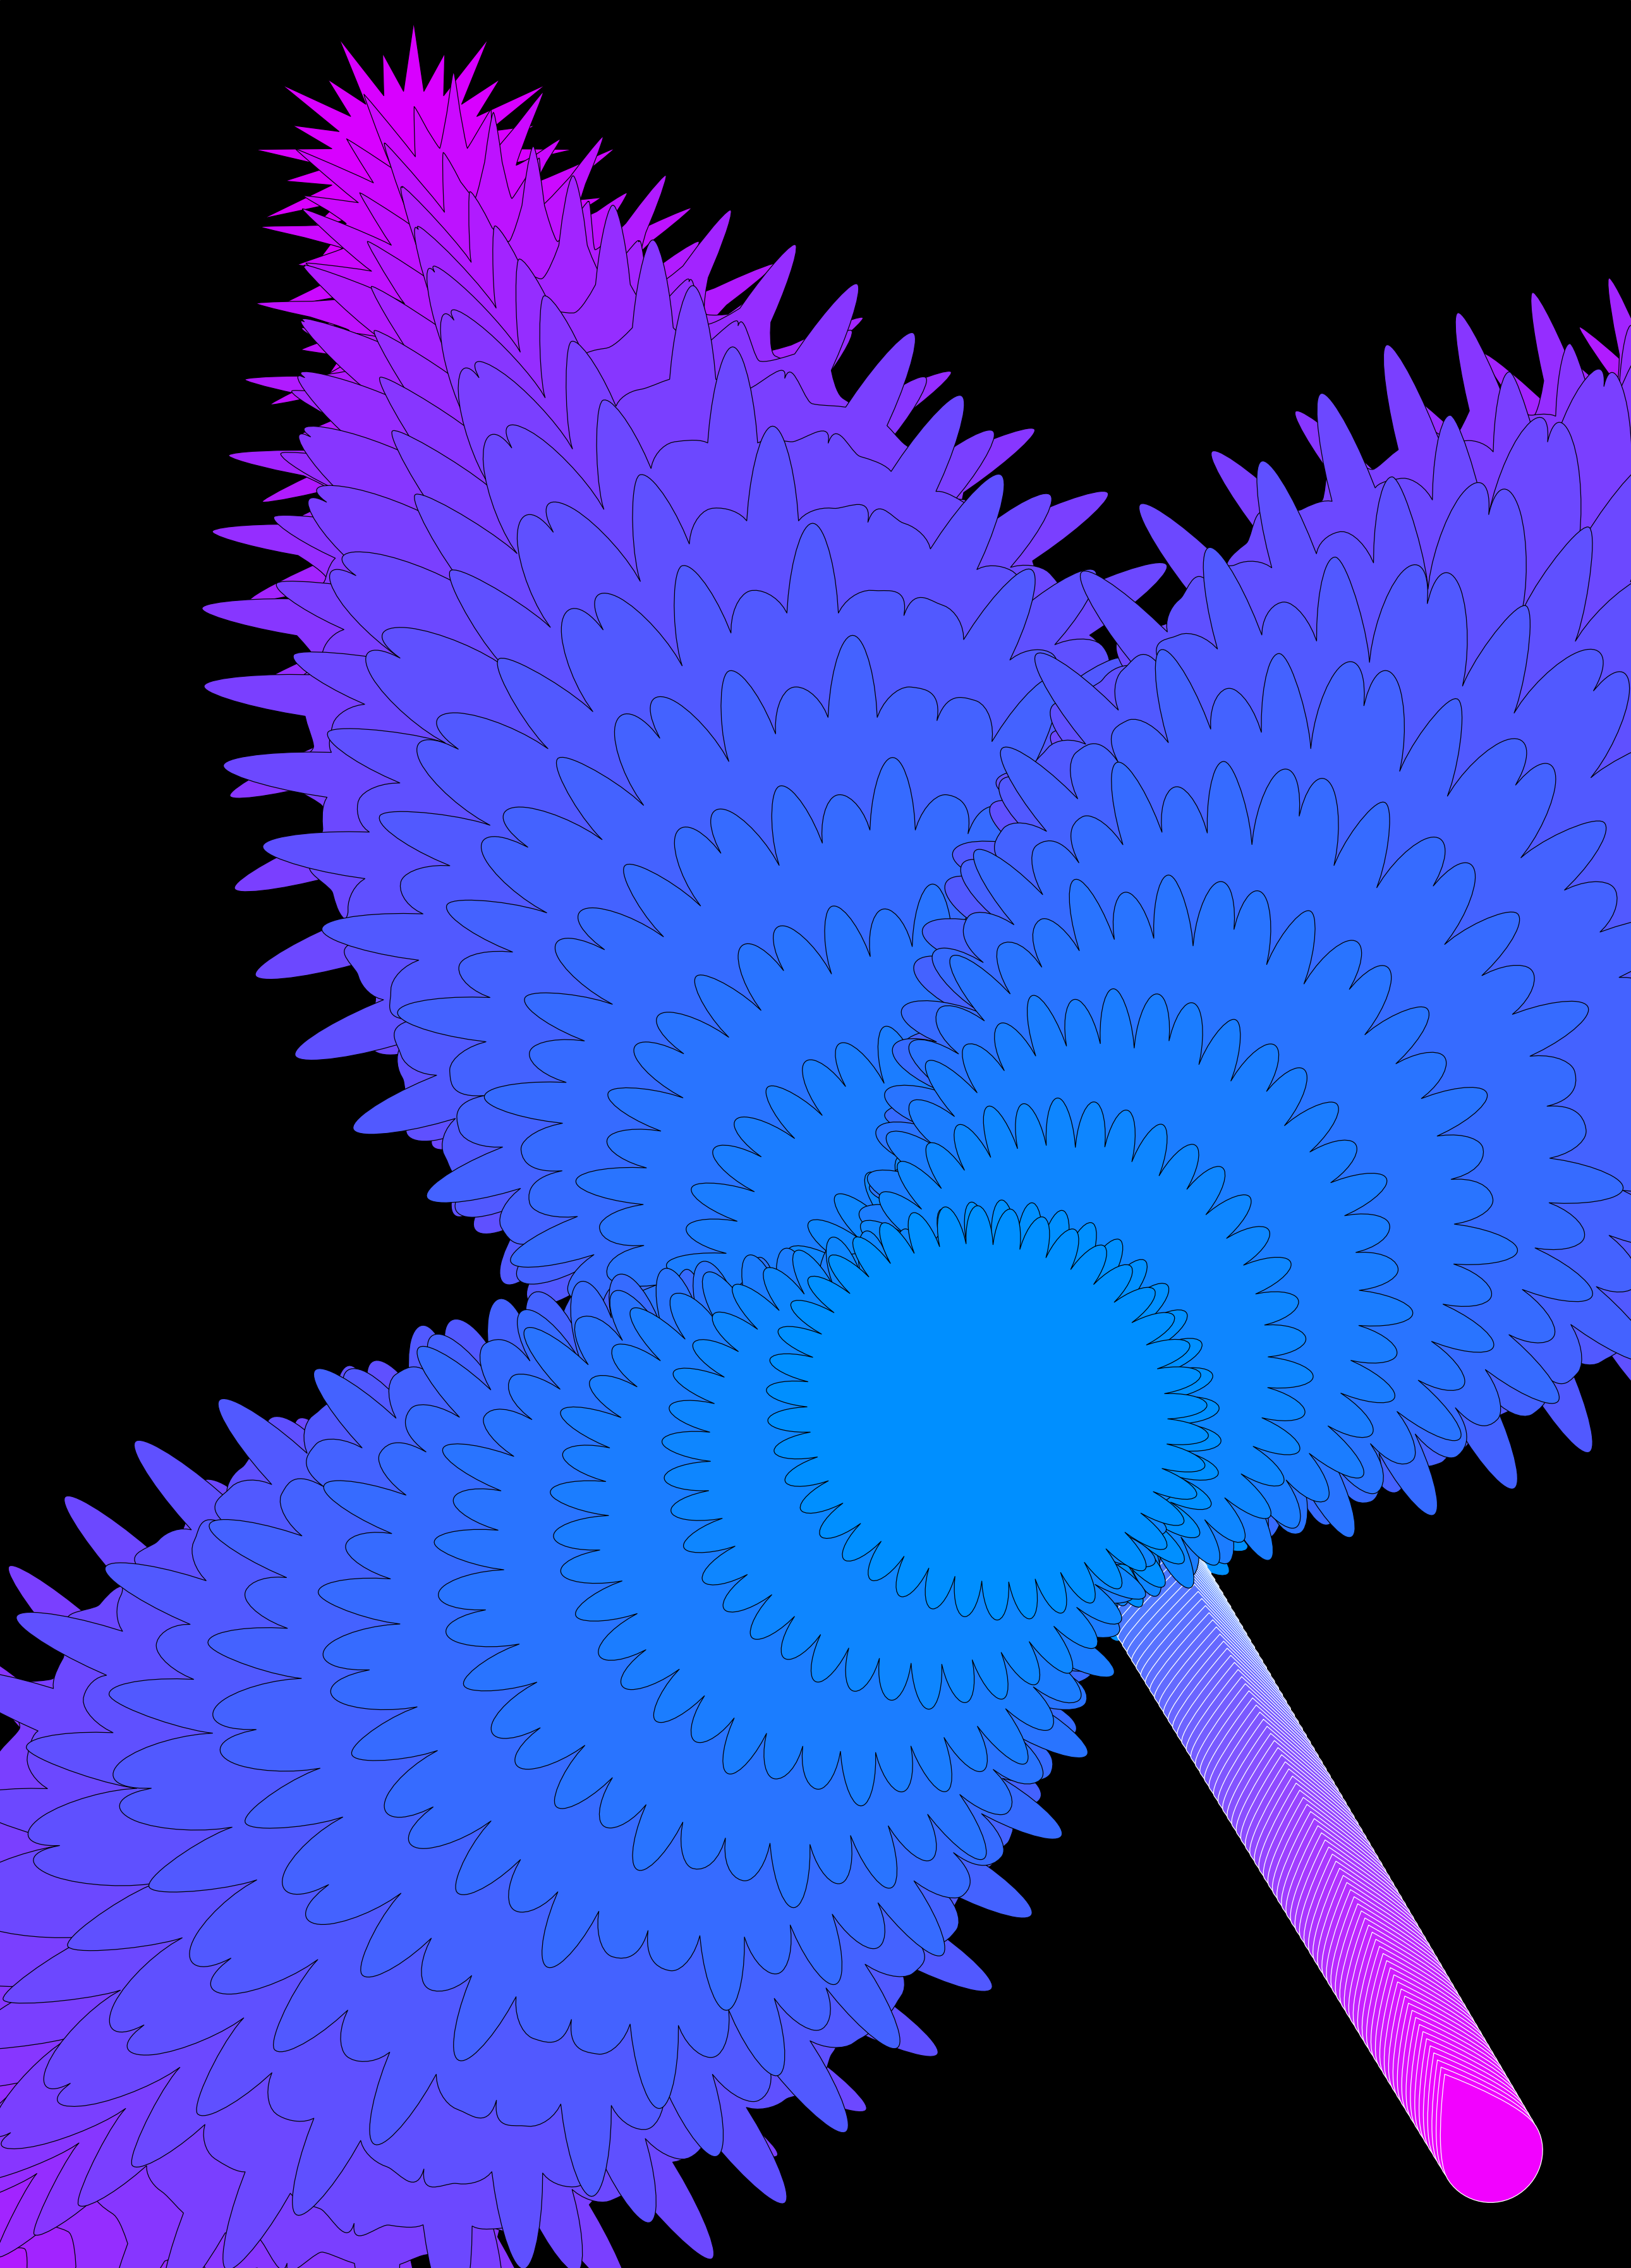
4. Scale Blend Center (Bulge/Pinch Effect)
Illustrator: Has no equivalent. To create a blend that swells in the middle, you would need to add a third shape manually at the midpoint, turning a simple two-object blend into a more complex multi-stop setup.
Blend Tool Pro: The Scale Blend Center section adds a bulge or pinch effect at the midpoint of the blend without requiring an extra shape:
- Scale (%) — How much to enlarge or shrink steps at the centre of the blend.
- Softness (%) — How broadly the scaling effect spreads across the blend. Low softness creates a sharp peak; high softness creates a gentle arc.
This is a unique feature with no parallel in Illustrator.
5. Automatic Anchor Point Matching
Illustrator: When blending two closed paths with different anchor counts or rotational starting positions, Illustrator can produce unintended twisting or crossing. The only fix is to manually reorder anchor points using the Direct Selection tool before blending.
Blend Tool Pro: The Align Start Points option automatically analyses the angular distribution of anchors on both shapes and rotates Shape B's anchor order to best match Shape A — minimising unwanted morphing artefacts. It also tries both the forward and reversed winding directions to find the best fit.
6. Reverse Path Direction
Illustrator: Reversing path direction requires exiting the blend, selecting a shape, using Object > Path > Reverse Path Direction, then remaking the blend.
Blend Tool Pro: A single Reverse Second Path Direction checkbox in the dialog handles this without touching the original shapes. It can be combined with Align Start Points and Flip Shapes to resolve most morphing direction issues without leaving the dialog.
7. Colour Interpolation Control
Illustrator: Fill and stroke are always interpolated. You cannot disable this — if you want all steps to share Shape A's colour, you must set both shapes to the same colour before blending.
Blend Tool Pro: Two independent toggles — Interpolate Fill and Interpolate Stroke — let you choose exactly what gets blended:
- Turn both off to get a repeating pattern where all steps look identical to Shape A.
- Turn off stroke interpolation only to keep a consistent outline while the fill transitions.
- Turn off fill interpolation only to let stroke weight and colour change while the fill stays fixed.
8. Per-Endpoint Fill and Stroke Overrides
Illustrator: The blend reads colours directly from the shapes. To change a blend's colours, you must edit the actual shapes.
Blend Tool Pro: Each shape has its own Fill, Stroke Colour, and Stroke Width controls directly in the dialog. You can override how each endpoint looks without modifying the original shapes — useful when you want to explore different colour combinations non-destructively during the preview stage.
9. Non-Destructive Live Preview
Illustrator: The blend is created immediately when you apply it. To try different step counts or options, you must undo, change settings, and reapply.
Blend Tool Pro: A Preview button generates a live on-canvas preview. You can update settings and refresh the preview as many times as you like. The preview is automatically undone if you close the dialog without committing — nothing is left in the document until you click Apply.
10. Editable Spine with Non-Destructive Re-Stepping
Illustrator: The spine can be replaced with a custom path via Object > Blend > Replace Spine, but this is a one-time operation. If you want to change the step count of a spine-following blend, you must undo and recreate the entire thing.
Blend Tool Pro: When Create Editable Spine is enabled, a purple guide line is added to the blend container. You can reshape this line freely at any time using Affinity's node tools. To reapply:
- Select the blend container.
- Re-run the script.
- Choose Apply Spine (repositions existing steps) or Re-step + Apply (generates a new step count, then applies the spine).
This means you can change both the path and the number of steps as many times as you like after the blend has been committed.
11. Blend on Path in a Single Operation
Illustrator: Blend on Path is a two-step process — create the blend, then separately replace its spine using Object > Blend > Replace Spine. The original shapes remain in the document and must be managed manually.
Blend Tool Pro: Select two shapes and a path simultaneously, then run the script. The blend is placed along the path in a single operation. The path is automatically hidden and renamed to Path Spine: … so it stays accessible but doesn't clutter the canvas. The script also auto-detects which shape is closer to the start of the path and sets it as the first endpoint — removing the guesswork.
12. Group Blending
Illustrator: Can blend two groups, but treats each group as a single object — the sub-shapes inside are not blended individually. Complex multi-part shapes (e.g. a letter made of two curves) cannot be morphed glyph-by-glyph.
Blend Tool Pro: When both selections are groups, the script extracts each child shape individually and blends them in matched pairs. Each intermediate step is itself a sub-container of interpolated glyphs, meaning multi-part shapes morph correctly part-by-part. Fill and stroke are interpolated per glyph.
13. Stacking Order Control
Illustrator: The stacking order within a blend is determined by the layer order of the original shapes. To change it you must reorder layers before blending.
Blend Tool Pro: A Stacking Order control in the dialog lets you choose whether Shape B or Shape A sits on top of the layer stack inside the blend container — without touching the original layer order.
Summary Table
| Feature | Illustrator | Blend Tool Pro |
|---|---|---|
| Twist across steps | ✗ | ✓ |
| Easing (ease in/out) | ✗ | ✓ |
| Per-endpoint scale | ✗ | ✓ |
| Scale blend center / bulge | ✗ | ✓ |
| Auto anchor matching | ✗ | ✓ |
| Reverse path direction (in dialog) | ✗ | ✓ |
| Toggle fill interpolation | ✗ | ✓ |
| Toggle stroke interpolation | ✗ | ✓ |
| Per-endpoint fill/stroke override | ✗ | ✓ |
| Live non-destructive preview | ✗ | ✓ |
| Editable spine with re-stepping | ✗ | ✓ |
| Blend on Path in one step | ✗ | ✓ |
| Group blending (glyph-by-glyph) | ✗ | ✓ |
| Stacking order control | ✗ | ✓ |
| Smooth colour mode | ✓ | ✓ (always on) |
| Specified steps | ✓ | ✓ |
| Specified distance | ✓ | ✗ |
| Expand blend | ✓ | ✗ (use Affinity's tools) |
| Release blend | ✓ | ✗ (use Undo) |
When Illustrator Still Has an Edge
Illustrator's Blend Tool is built into the application and has a few conveniences the script does not replicate:
- Specified Distance — placing steps at a fixed physical distance apart, rather than by count.
- Expand — converting a live blend into individual editable objects while keeping them on the canvas.
- Release — returning a blend to its original two objects after the fact.
For the majority of creative blending tasks, however — especially anything involving animation-style morphing, path-following, scaling effects, or large step counts — Blend Tool Pro offers more control and a more forgiving, non-destructive workflow.